
photo © pexels.com
Traveling offers a wealth of new experiences, cultures, and landscapes.
Each trip provides moments worth preserving and reliving. A travel photobook is a perfect way to document these adventures, creating a tangible collection of memories.
This article will guide you through the process of creating a unique travel photobook that captures the essence of your journeys.
Why Create a Travel Photobook?
– Emotional and Nostalgic Value
A travel photobook is more than just a collection of photos; it’s a journey back in time. Flipping through its pages can evoke the emotions and excitement you felt during your travels.
It serves as a personal time capsule, preserving the moments and experiences that made your trip special.
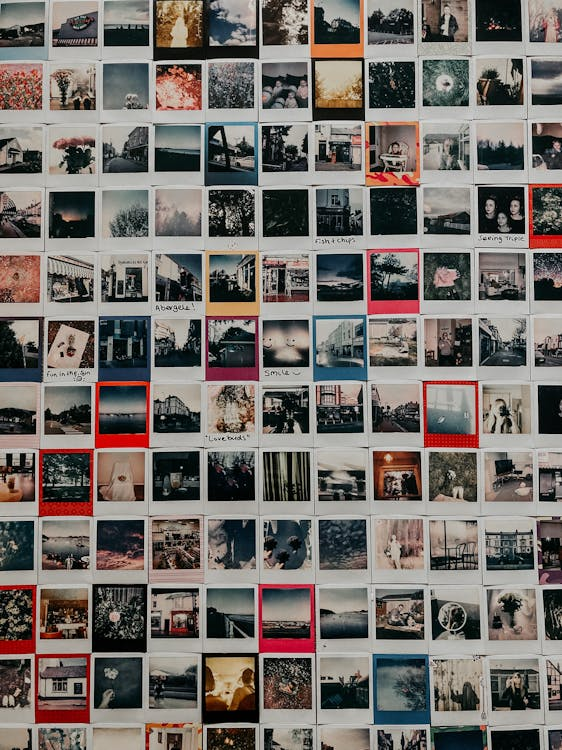
– Tangibility and Physical Connection
In an age where most of our photos are stored digitally, having a physical photobook creates a tangible connection to your memories.
Holding a photobook, feeling the paper, and seeing the printed images provide a different and more intimate experience than scrolling through digital files.
– Creative Expression and Storytelling

photo © pexels.com
Creating a photobook allows you to express your creativity. From selecting photos to designing the layout, you can tell your travel story in a way that is uniquely yours.
The process of creating a photobook itself can be a rewarding and reflective activity, allowing you to relive and appreciate your travels.
Planning Your Photobook
– Deciding on a Central Theme or Concept
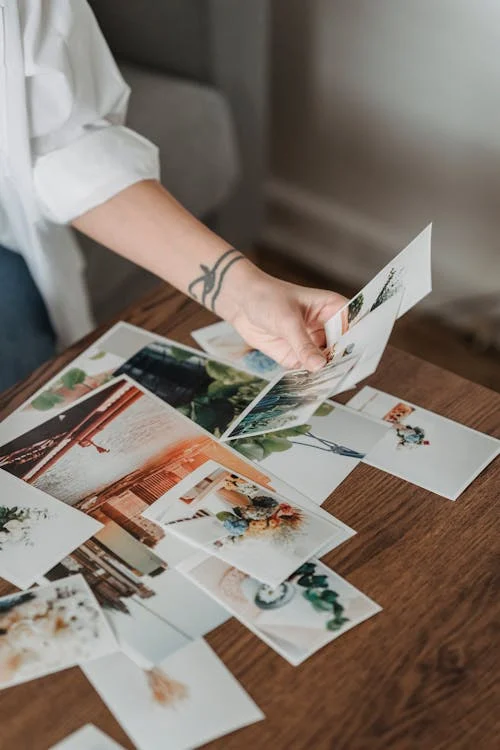
photo © pexels.com
The first step in creating a travel photobook is deciding on a central theme.
A well-defined theme helps unify your photos and stories, giving your photobook a cohesive look and feel. Think about what aspect of your travels you want to highlight.
Examples of themes include cultural experiences, nature and landscapes, or adventure and activities.
– Gathering and Organizing Travel Photos
Once you have your theme, start gathering your travel photos. Organize them by trip, location, or event. This will make it easier to select the best images for your photobook.
Consider using photo organization software to help you sort and manage your collection.
– Outlining the Structure and Flow of the Photobook
Decide on the structure and flow of your photobook. Will it be chronological, following the sequence of your trip, or thematic, grouping photos by themes or locations?
Creating an outline or storyboard can help you visualize the flow and ensure a smooth narrative.
Selecting and Editing Photos
– Choosing High-Quality Images
Select photos that are clear, well-composed, and high-resolution. Avoid blurry or poorly lit images, as they can detract from the overall quality of your photobook.
Aim for a mix of candid shots and scenic views to capture the spontaneity and beauty of your travels.
– Balancing Candid Shots with Scenic Views
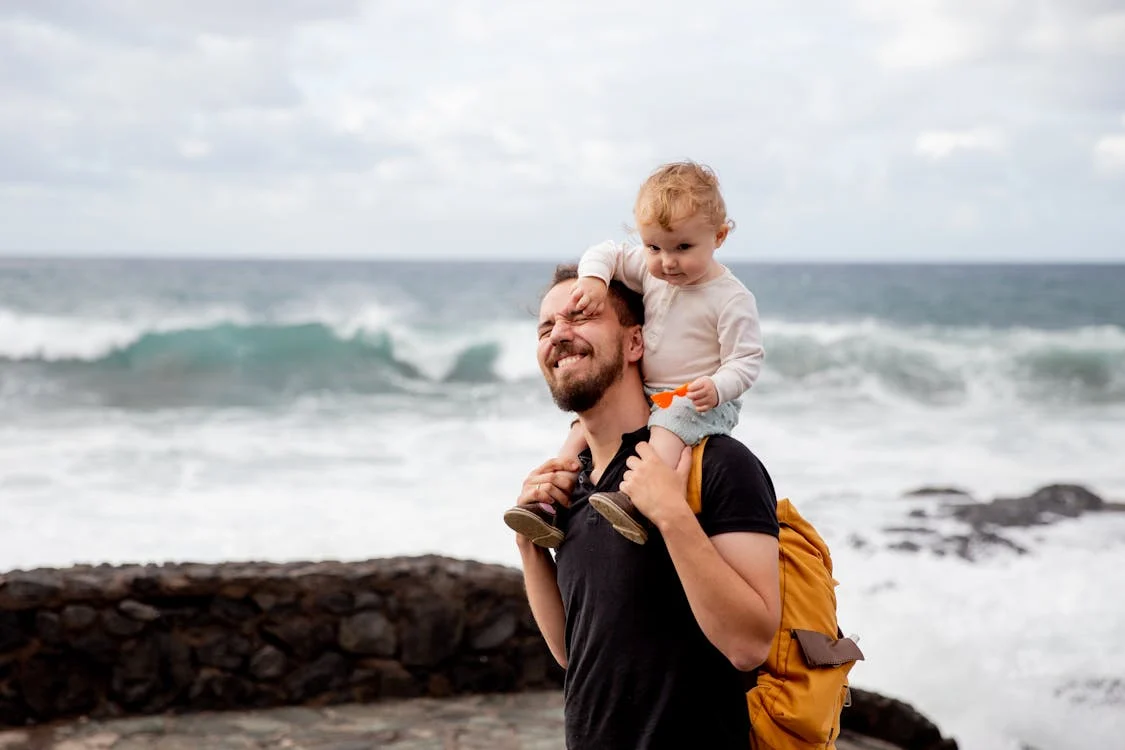
photo © pexels.com
Include a variety of photos: people, landscapes, activities, and close-ups of interesting details. Candid shots capture the spontaneity and joy of your travels, while scenic views showcase the beauty of the places you’ve visited.
This variety keeps your photobook engaging and visually appealing.
– Editing Tips to Enhance Photo Quality
Use photo editing software to enhance the quality of your images. Adjust brightness, contrast, and saturation to make your photos look their best.
Cropping can help improve composition, and retouching tools can remove any distractions or imperfections.
– Designing the Layout
Using Photobook Software or Online Services
Choose a photobook software or online service that offers the tools and flexibility you need. Popular options include Adobe InDesign, Shutterfly, Mixbook, and Blurb.
These platforms provide templates and customization options to help you create a professional-looking photobook.
– Layout Tips: Balance, Spacing, and Alignment
Balance and Spacing: Ensure there is enough white space to avoid a cluttered look. Balance the placement of photos and text to create a harmonious design.
- Alignment: Keep photos and text aligned for a clean and professional appearance. Consistent alignment creates a polished and cohesive look.
- Consistent Style: Use consistent fonts and colors to maintain a cohesive look throughout your photobook.
– Incorporating Text: Captions, Dates, and Stories
Add captions, dates, and short stories to provide context and enhance the narrative. Personal anecdotes and reflections make your photobook more intimate and engaging.
Consider including maps and itineraries to give context to your travels and help structure your photobook.
Adding Personal Touches
– Including Mementos: Tickets, Maps, and Other Souvenirs
Enhance your photobook with mementos like tickets, maps, and other souvenirs. These items add a personal touch and bring your photobook to life.
Use pockets or envelopes to store loose items within your photobook.
– Handwritten Notes and Reflections
Consider adding handwritten notes and reflections. These personal elements add depth and a unique touch that printed text cannot replicate.
Handwriting your reflections or adding doodles can make your photobook feel more personal and heartfelt.
– Personal Anecdotes and Travel Tips
Share personal anecdotes and travel tips. These stories and insights can be entertaining and useful for anyone who reads your photobook.
They also provide a deeper connection to the experiences you had during your travels.
Printing and Binding Options
– Choosing the Right Paper and Finish
Select high-quality paper and finish for your photobook. Options include matte, glossy, or satin finishes, each offering a different look and feel.
The choice of paper can significantly impact the visual appeal and durability of your photobook.
– Options for Binding: Hardcover, Softcover, Lay-Flat
Consider different binding options such as hardcover, softcover, or lay-flat binding. Each type offers different benefits in terms of durability and presentation.
Hardcover bindings provide a classic and durable option, while lay-flat bindings allow photos to spread seamlessly across two pages.
– Considerations for Durability and Longevity
Choose materials and finishes that will stand the test of time. This ensures your photobook remains in good condition for years to come.
High-quality printing and binding can help preserve your photos and stories for future generations.
Sharing and Preserving Your Photobook
– Sharing with Family and Friends
Share your photobook with family and friends. It can be a great conversation starter and a way to relive your travels together.
Consider hosting a photo night where you can share your photobook and stories with loved ones.
– Creating Digital Versions and Backups
Create digital versions of your photobook for easy sharing and backup. This ensures you have a copy in case the physical book gets damaged.
Digital versions can be shared via email or social media, allowing a wider audience to enjoy your travel memories.
– Storing Your Photobook Safely
Store your photobook in a safe place, away from direct sunlight and moisture. Consider using a protective case to keep it in pristine condition.
Proper storage will help preserve the quality and longevity of your photobook.
Conclusion

photo © pexels.com
Creating a travel photobook is a wonderful way to preserve and relive your travel memories. By carefully selecting your theme, photos, and layout, and adding personal touches, you can create a unique and meaningful keepsake.
Start mapping your memories today and enjoy the process of creating a beautiful travel photobook that you’ll treasure for years to come.
Whether it’s for yourself or as a gift for someone special, a travel photobook is a timeless way to document your adventures and share your stories.
– sponsored –